Utilizing Lyra's Indicator System in UE5
The Lyra sample game comes with an indicator system that manages indicator widgets nicely, but I didn't find much related documentation. So here are some of my notes on making use of it.
Overview
The indicator system can be used without modding the C++ part. However, I feel that a brief summary of the classes would make it much less confusing . The relevant source code is under LyraGame/UI/IndicatorSystem. Here are the main classes:
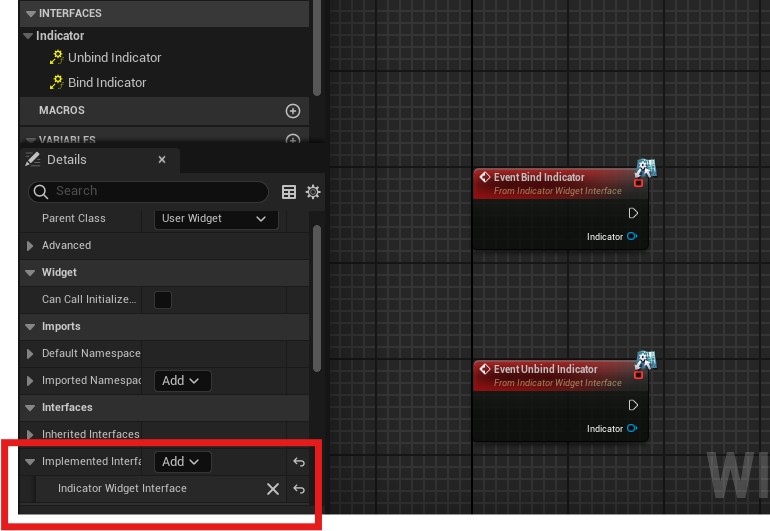
IndicatorWidgetInterface
This basic interface exposes a Bind and Unbind blueprint event. The indicator widget needs to implement this interface to be able to manage its data dynamically.
IndicatorDescriptor
The data object to be constructed for each indicator. Each instance of this class represents one indicator that can be added to the canvas.
IndicatorLayer
The widget that creates a `SActorCanvas`. Add it to the HUD for the indicator system to work.
IndicatorLibrary
The blueprint library to be extended. Currently it doesn't have much functionality.
LyraIndicatorManagerComponent
The manager class to that controls the states of indicators.
SActorCanvas
The actual implementation of the indicator canvas. This is where the indicator's bind/unbind events get triggered.
Setup
The PlayerController needs to have a LyraIndicatorManagerComponent. Since this class is not specified as BlueprintSpawnableComponent, we can't directly add it in the blueprint editor. Of course we can create a blueprint from the c++ class and add it, but Lyra provides another approach. Instead, it can be dynamically added via Lyra's Experience and Action Sets.
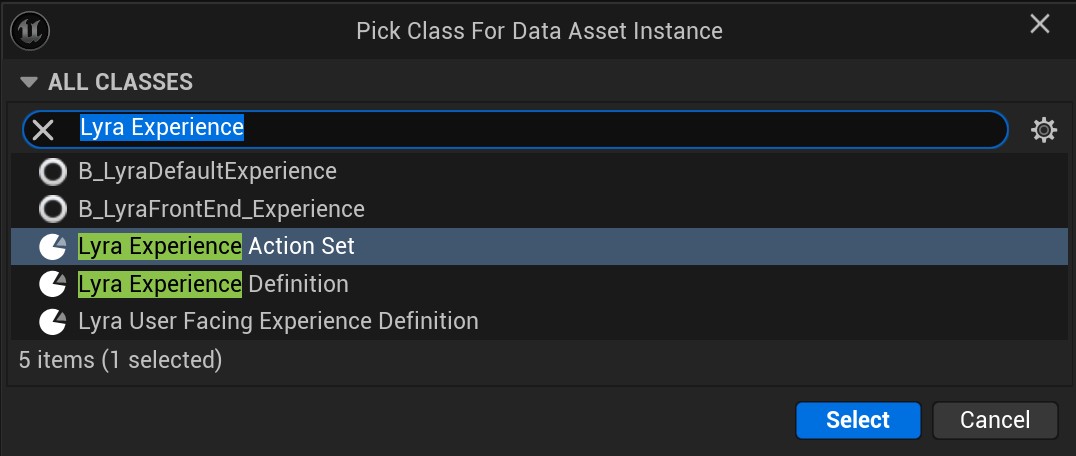
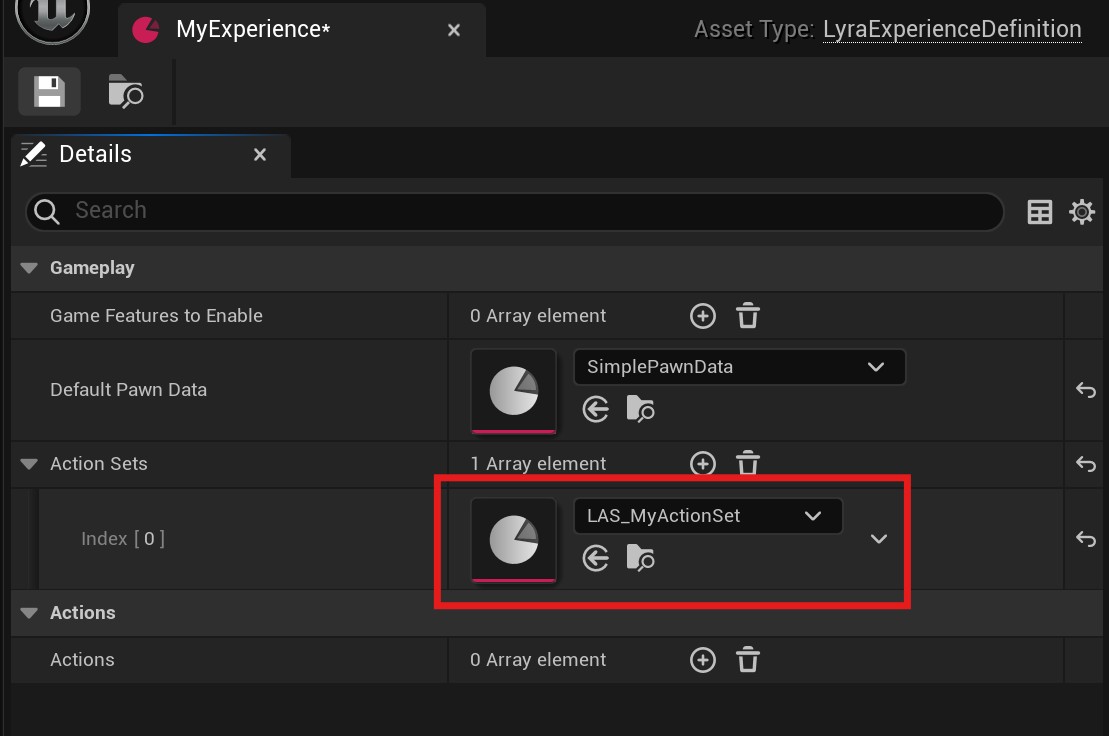
Right click in the content browser and create a Miscellaneous -> Data Asset of type LyraExperienceActionSet (Named as LAS_MyActionSet in this example ). Then add this action set to the world's experience.
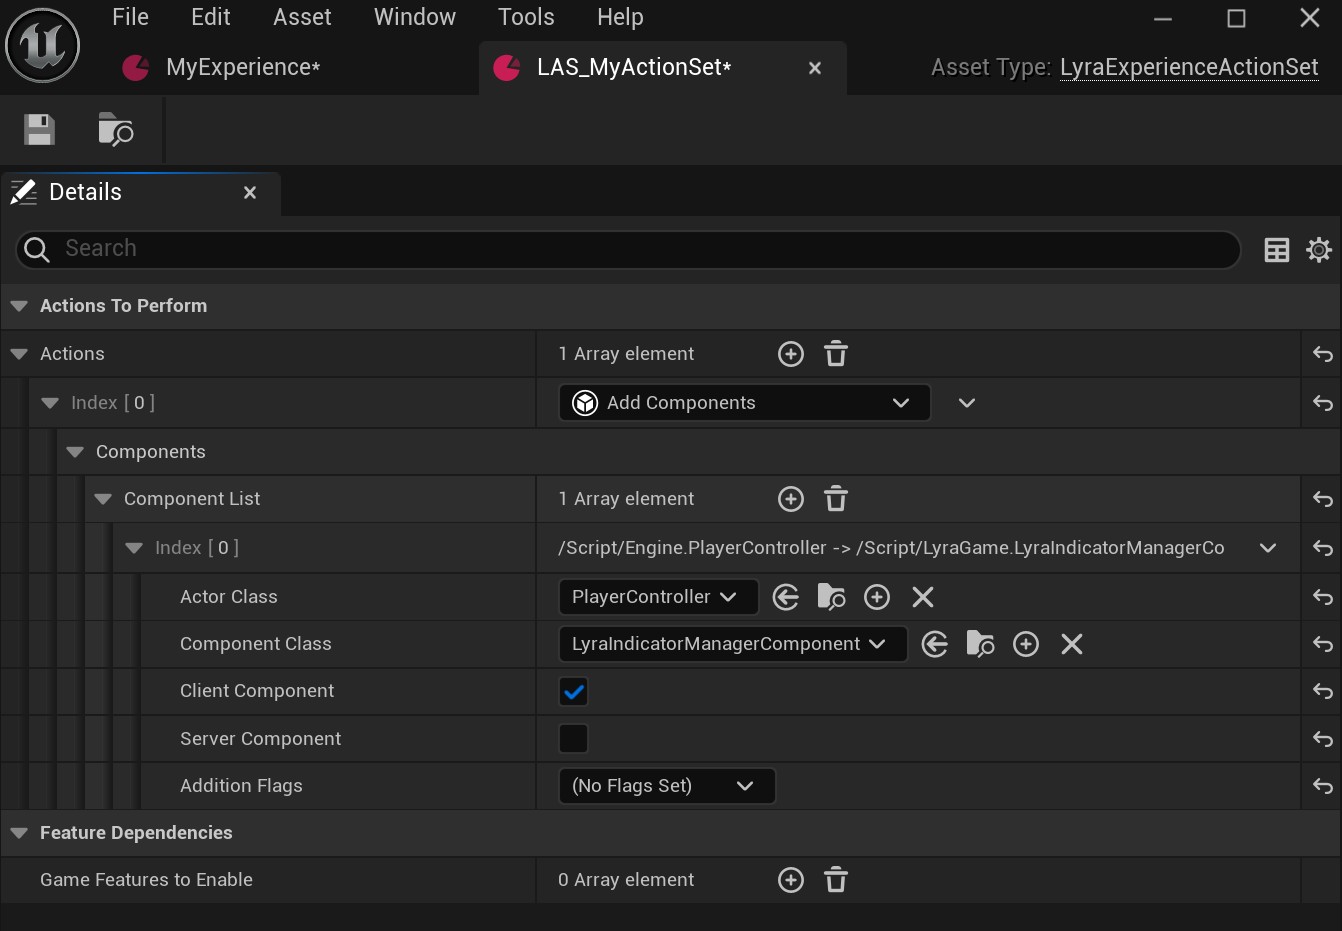
In this action set, add an action of Add Components. Then in the component list, add an actor of type PlayerController, and component of type LyraIndicatorManagerComponent. Make this client only since we are managing the indicator UI for the local player only.
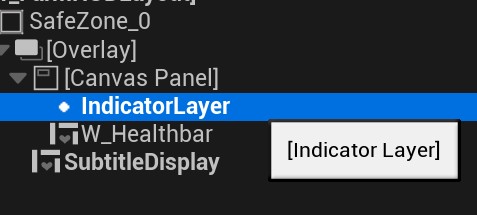
Then in the HUD blueprint, search for and add the IndicatorLayer widget to the canvas. Make sure that its size is not 0. This widget can pick up the indicator's add/remove events.
Now with the indicator manager and the UI layer ready, we can proceed to create the indicator widget and its logic.
Indicator Creation
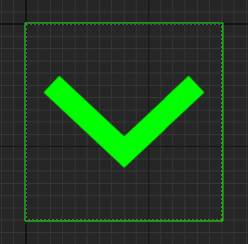
Technically, any widget class can be used for the indicator. I created a widget named as W_MyIndicator which only has an arrow sprite. For passing data from the indicator object to the widget, the widget can implement InicatorWidgetInterface, which provides the events triggered by adding/removing the indicator to the manager.
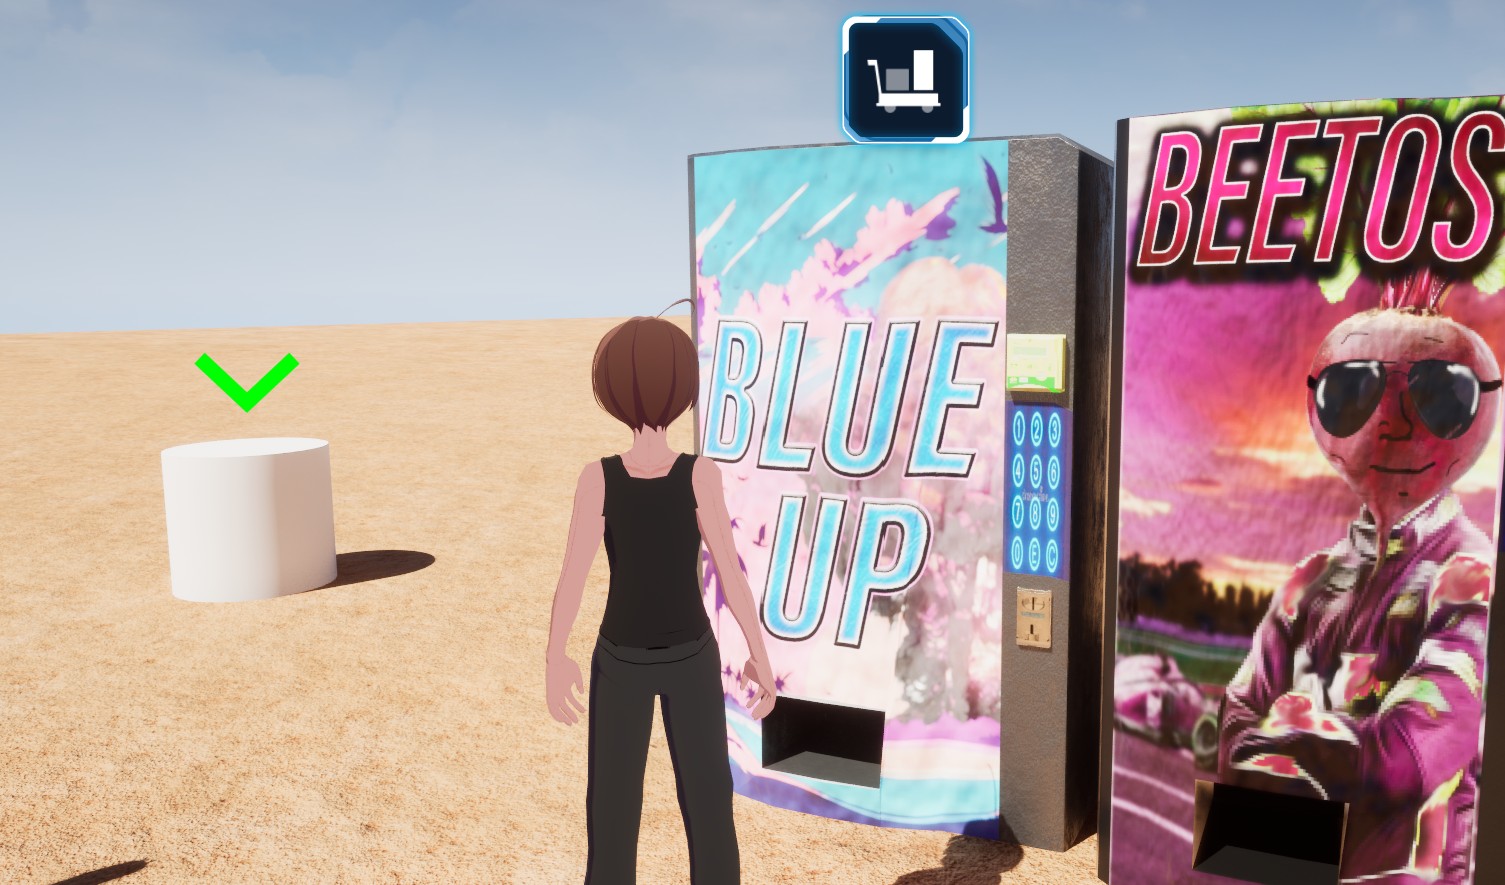
Then, to test the indicator, I created a simple actor blueprint with a cylinder mesh. It will construct the indicator descriptor and use the indicator manager component to add it.
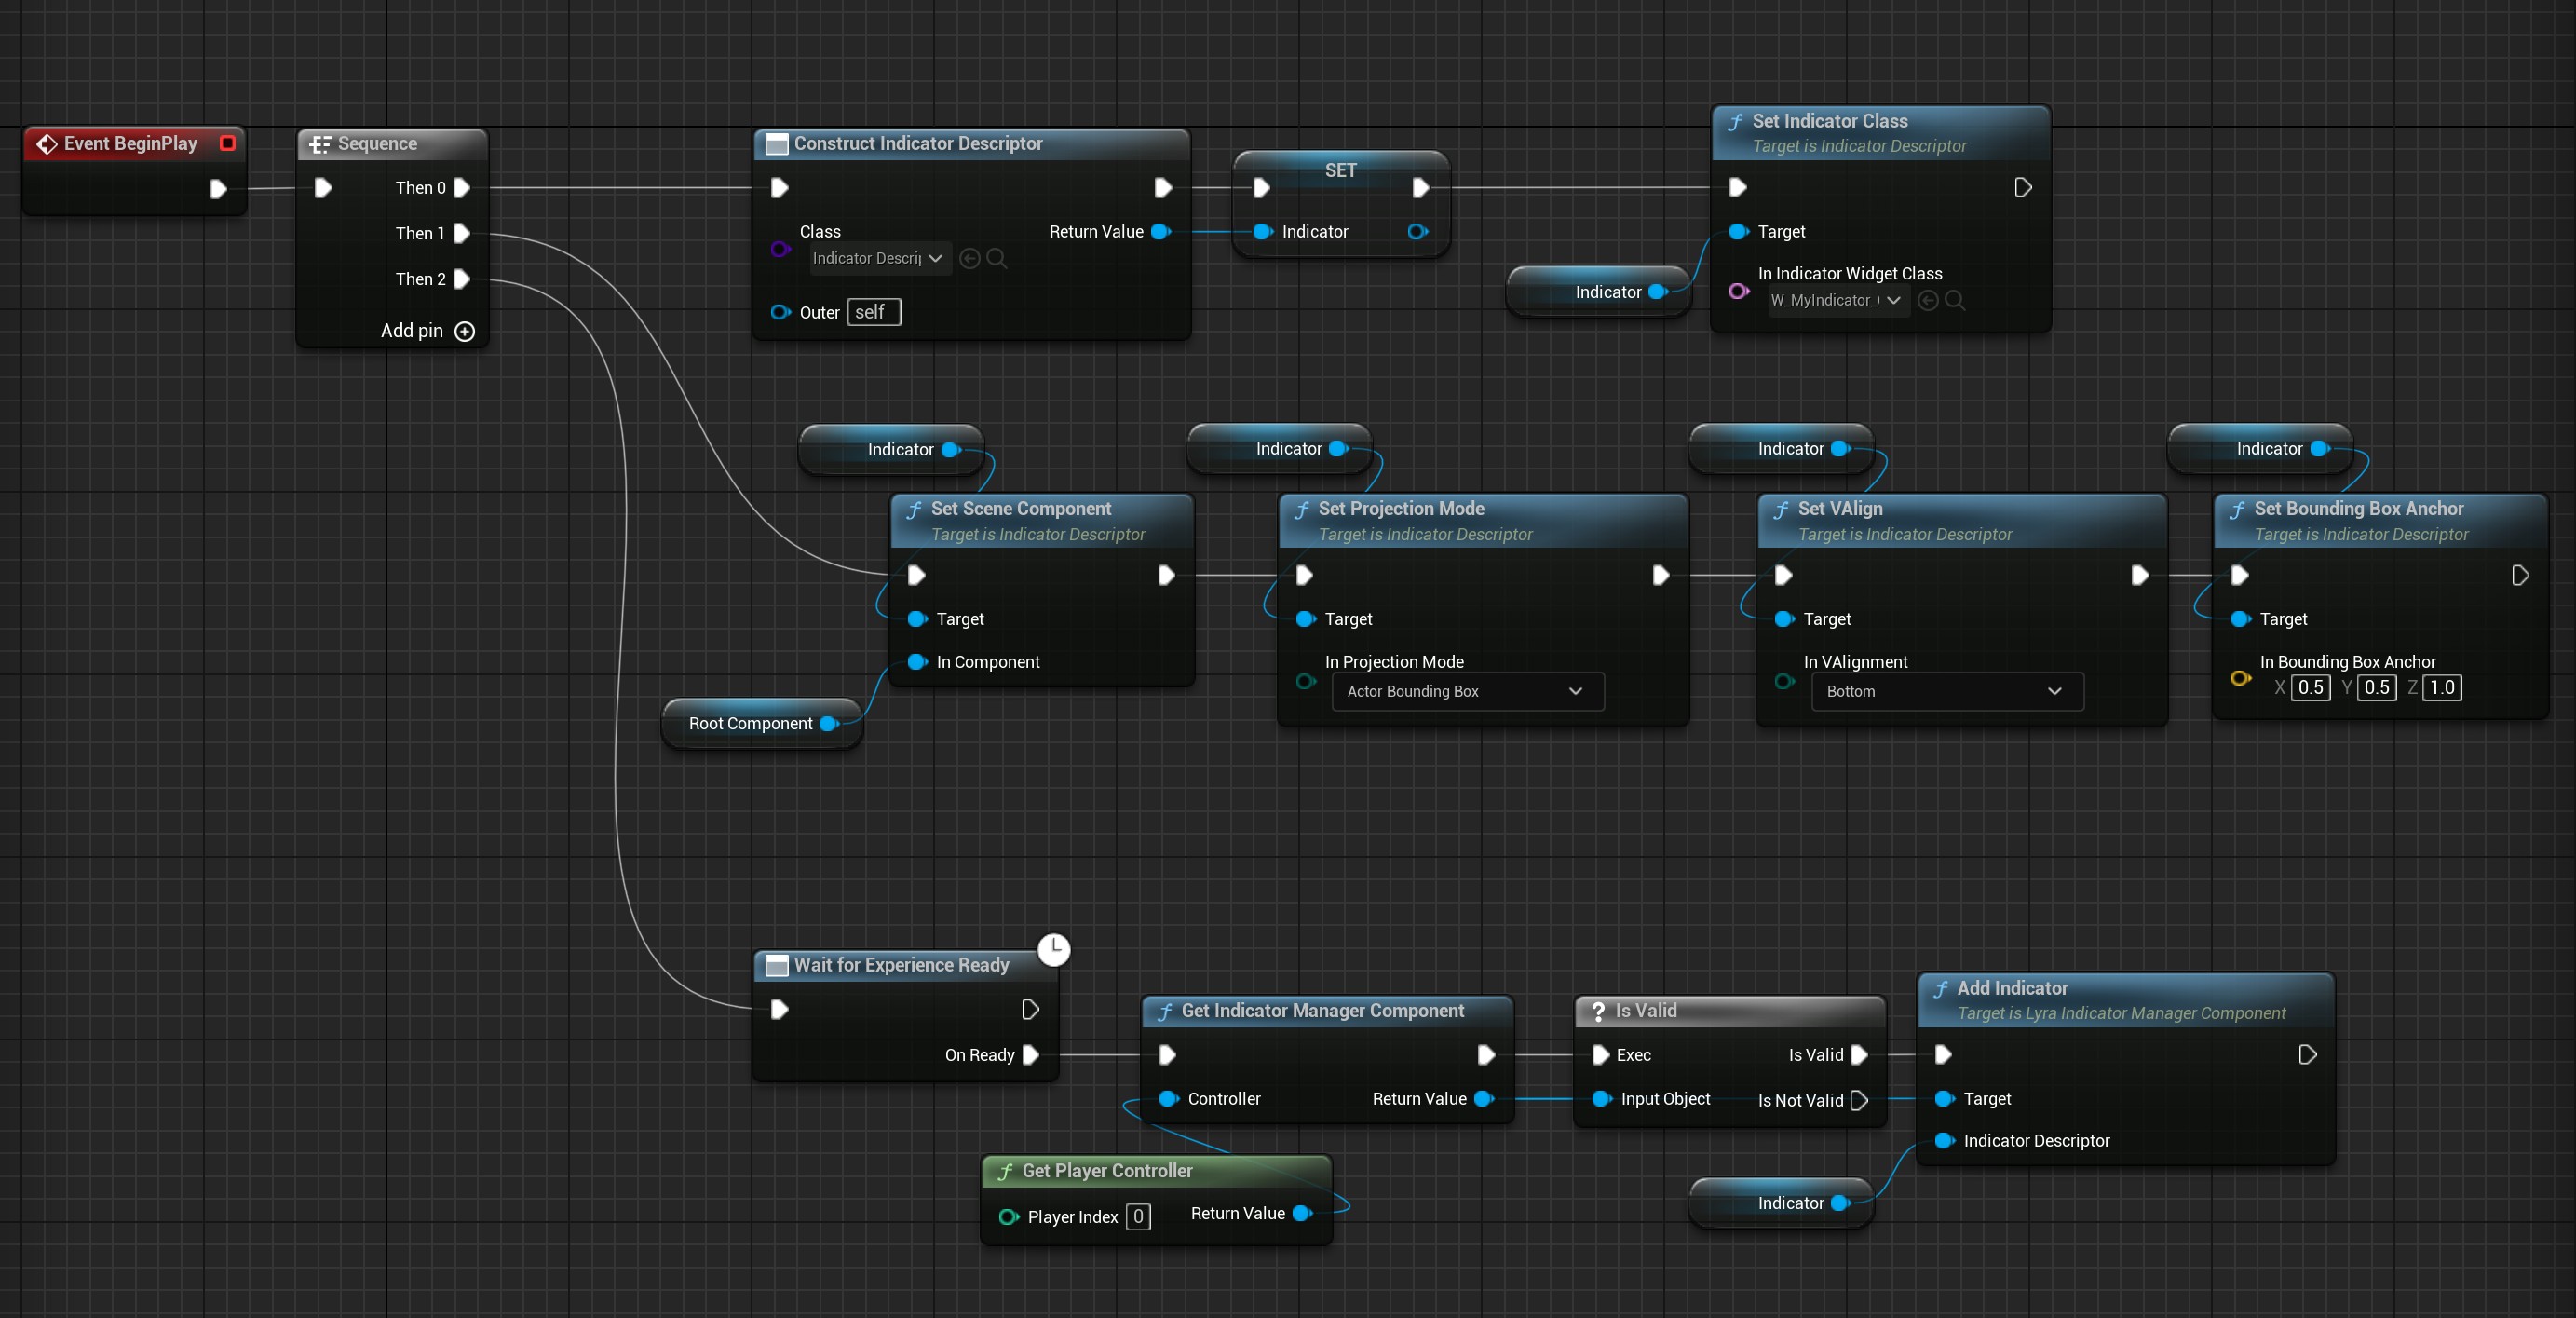
Note that during BeginPlay, the indicator manager component could still be loading, because it's dynamically loaded by the experience. Putting a node of WaitForExperienceReady will make sure the indicator manager component is ready.
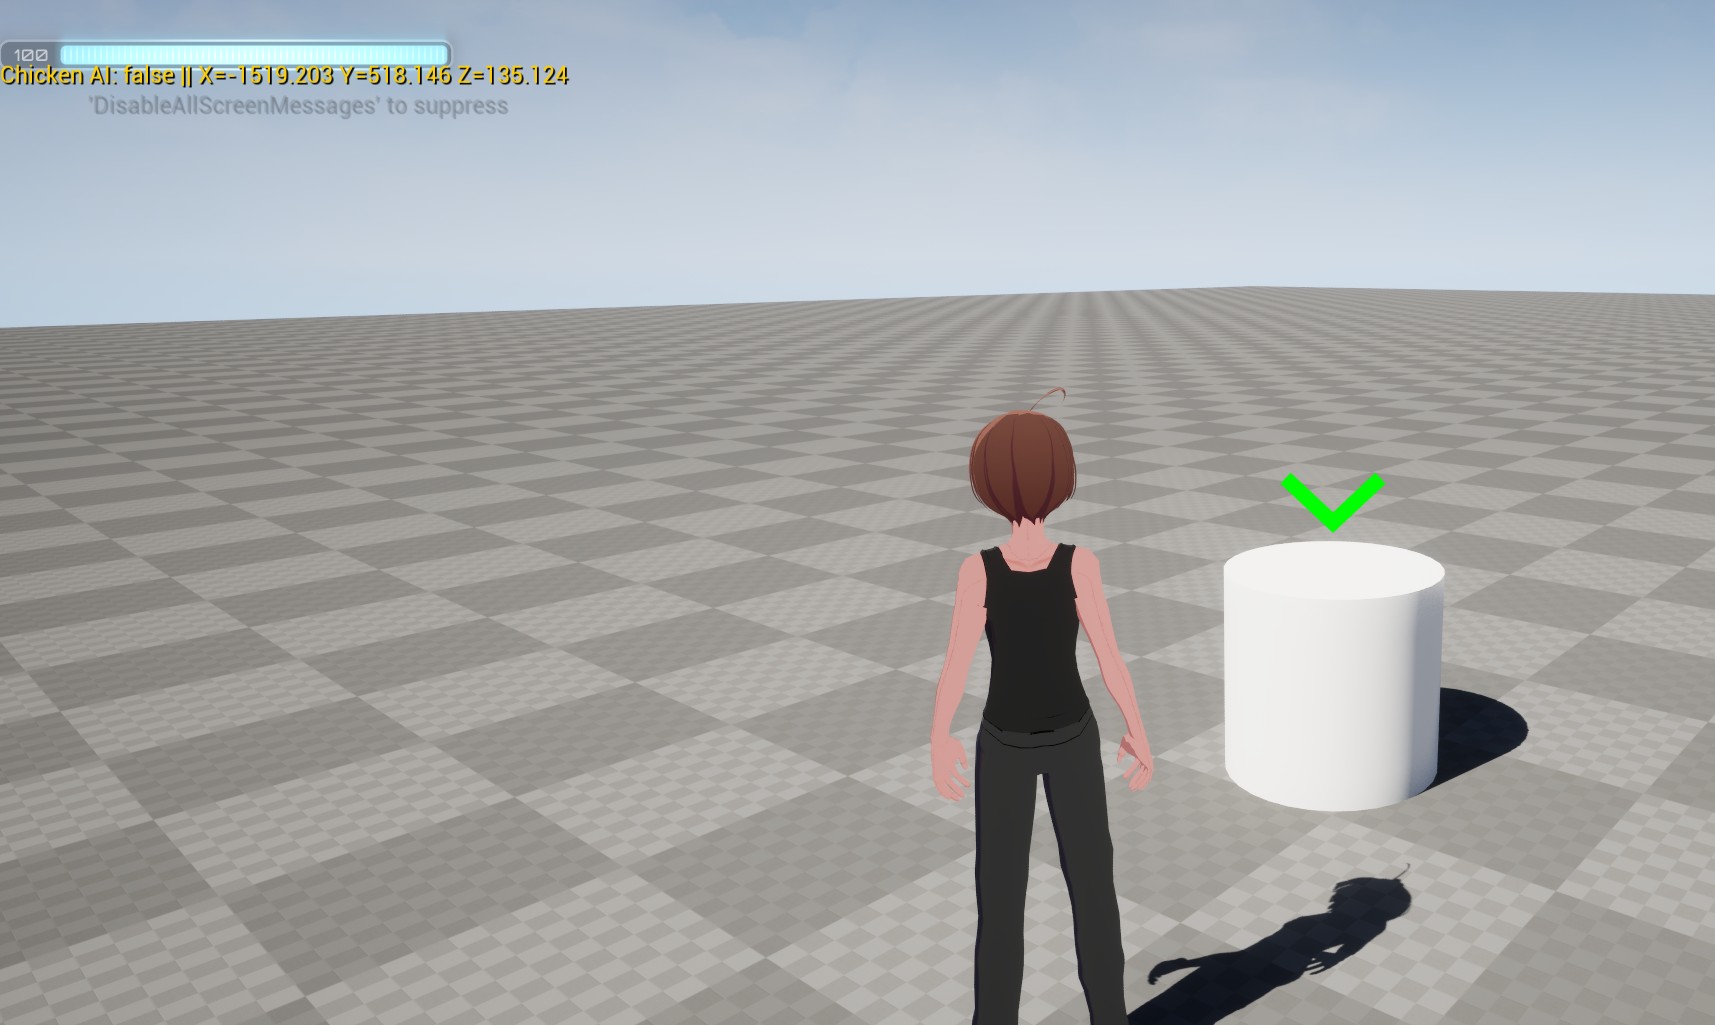
Now the indicator widget will show up as intended.
The indicator system can easily integrate with the Gameplay Ability System. For example, using Lyra's interact ability, it can display an indicator on the primary interactable target.
Recap
In short, a minimum viable approach to use the indicator system requires the following steps:
- Add the indicator manager component to the player controller
- Add an Indicator Layer widget to the target HUD class
- Create the indicator widget. Optionally implement the Indicator Widget Interface
- In the desired place, construct the Indicator Descriptor object and set its display options
- Grab the Indicator Manager Component and add/remove the indicator descriptor
Leave a comment
Log in with itch.io to leave a comment.